Connect via Google Cloud Storage (GCS)
We strongly prefer data partners that can provide updated live datasets, over a static snapshot. Datasets that use this method will require OSO sponsorship for the storing the data, because we take on the costs of converting it into a BigQuery dataset and associated long-term storage costs. If you believe your data storage qualifies to be sponsored by OSO, please reach out to us on Discord.
If you prefer to handle the data storage yourself, check out the Connect via BigQuery guide.
Schedule periodic dumps to GCS
First, you can coordinate with the OSO engineering team directly on Discord to give your Google service account write permissions to our GCS bucket.
With these access permissions, you should schedule a cron job to regularly dump new time-partitioned data, usually in daily or weekly jobs.
Defining a Dagster Asset
Next, create a new asset file in
warehouse/oso_dagster/assets/.
This file should invoke the GCS asset factory.
For example, you can see this in action for
Gitcoin passport scores:
# warehouse/oso_dagster/assets/gitcoin.py
from ..factories import (
    interval_gcs_import_asset,
    SourceMode,
    TimeInterval,
    IntervalGCSAsset,
)

gitcoin_passport_scores = interval_gcs_import_asset(
    IntervalGCSAsset(
        key_prefix="gitcoin",
        name="passport_scores",
        project_id="opensource-observer",
        bucket_name="oso-dataset-transfer-bucket",
        path_base="passport",
        file_match=r"(?P<interval_timestamp>\d\d\d\d-\d\d-\d\d)/scores.parquet",
        destination_table="passport_scores",
        raw_dataset_name="oso_raw_sources",
        clean_dataset_name="gitcoin",
        interval=TimeInterval.Daily,
        mode=SourceMode.Overwrite,
        retention_days=10,
        format="PARQUET",
    ),
)
For the latest documentation on configuration parameters, check out the comments in the GCS factory.
In order for our Dagster deployment to recognize this asset, you must ensure
that it is a python file in the directory warehouse/oso_dagster/assets/.
For more details on defining Dagster assets, see the Dagster tutorial.
GCS examples in OSO
In the OSO monorepo, you will find a few examples of using the GCS asset factory:
Add the asset to the OSO Dagster configuration
Submit a pull request
When you are ready to deploy, submit a pull request of your changes to OSO. OSO maintainers will work with you to get the code in shape for merging. For more details on contributing to OSO, check out CONTRIBUTING.md.
Verify deployment
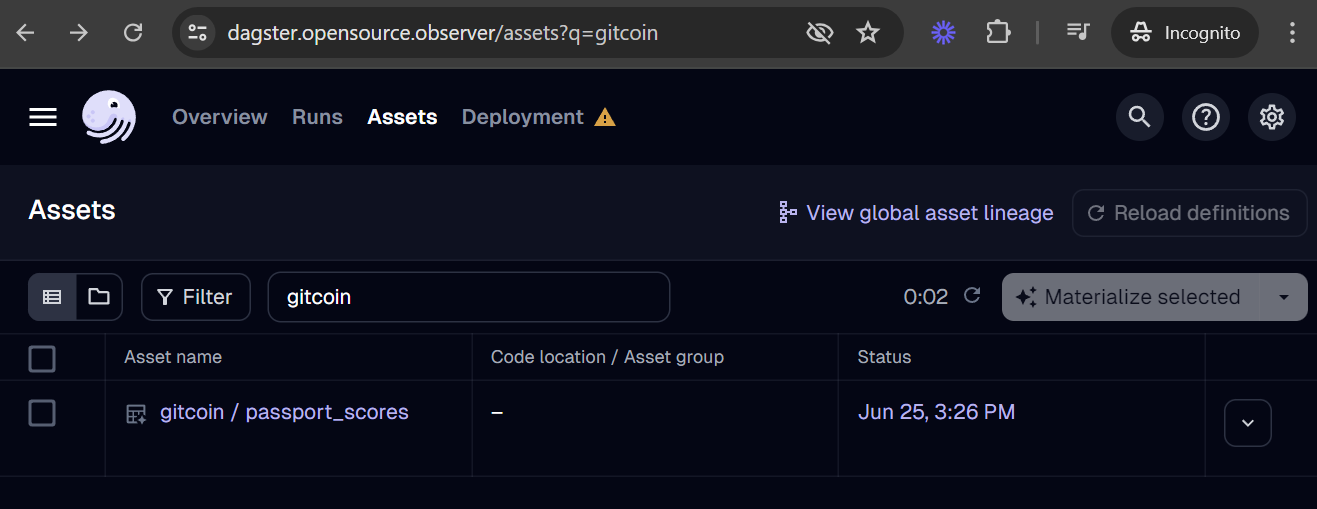
Our Dagster deployment should automatically recognize the asset after merging your pull request to the main branch. You should be able to find your new asset in the global asset list.
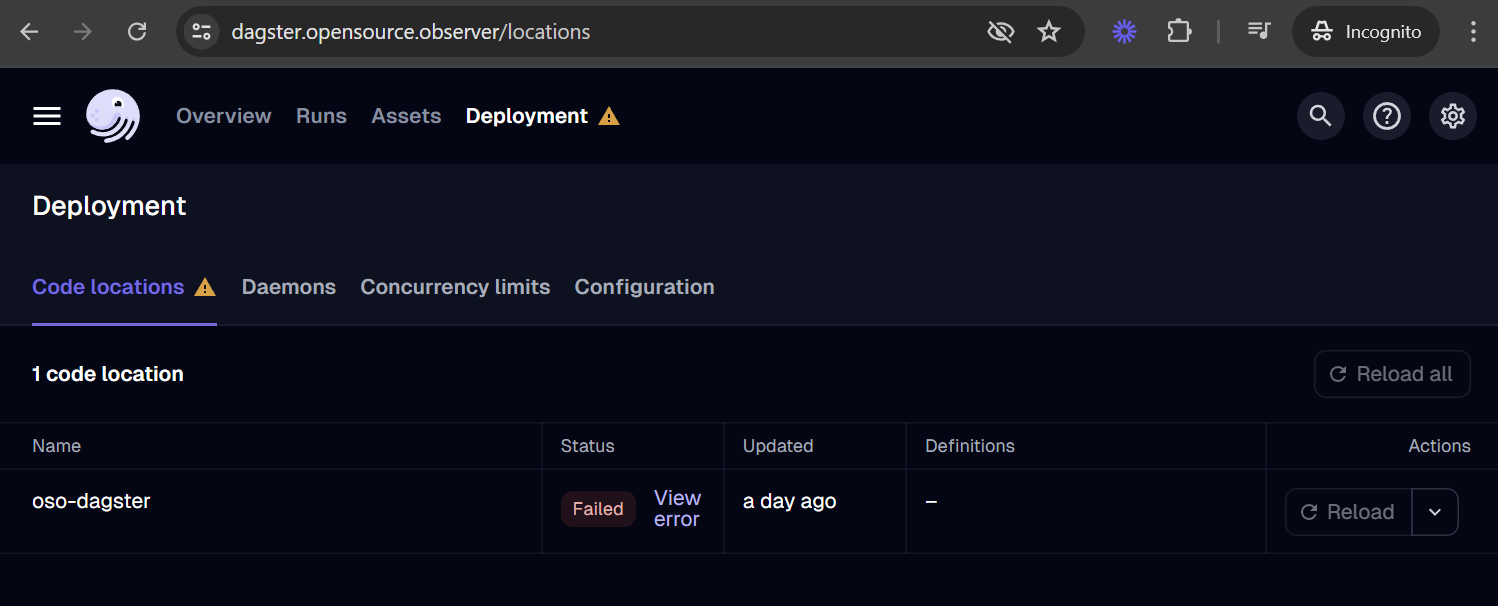
If your asset is missing, you can check for loading errors and the date of last code load in the Deployment tab. For example, if your code has a bug and leads to a loading error, it may look like this:
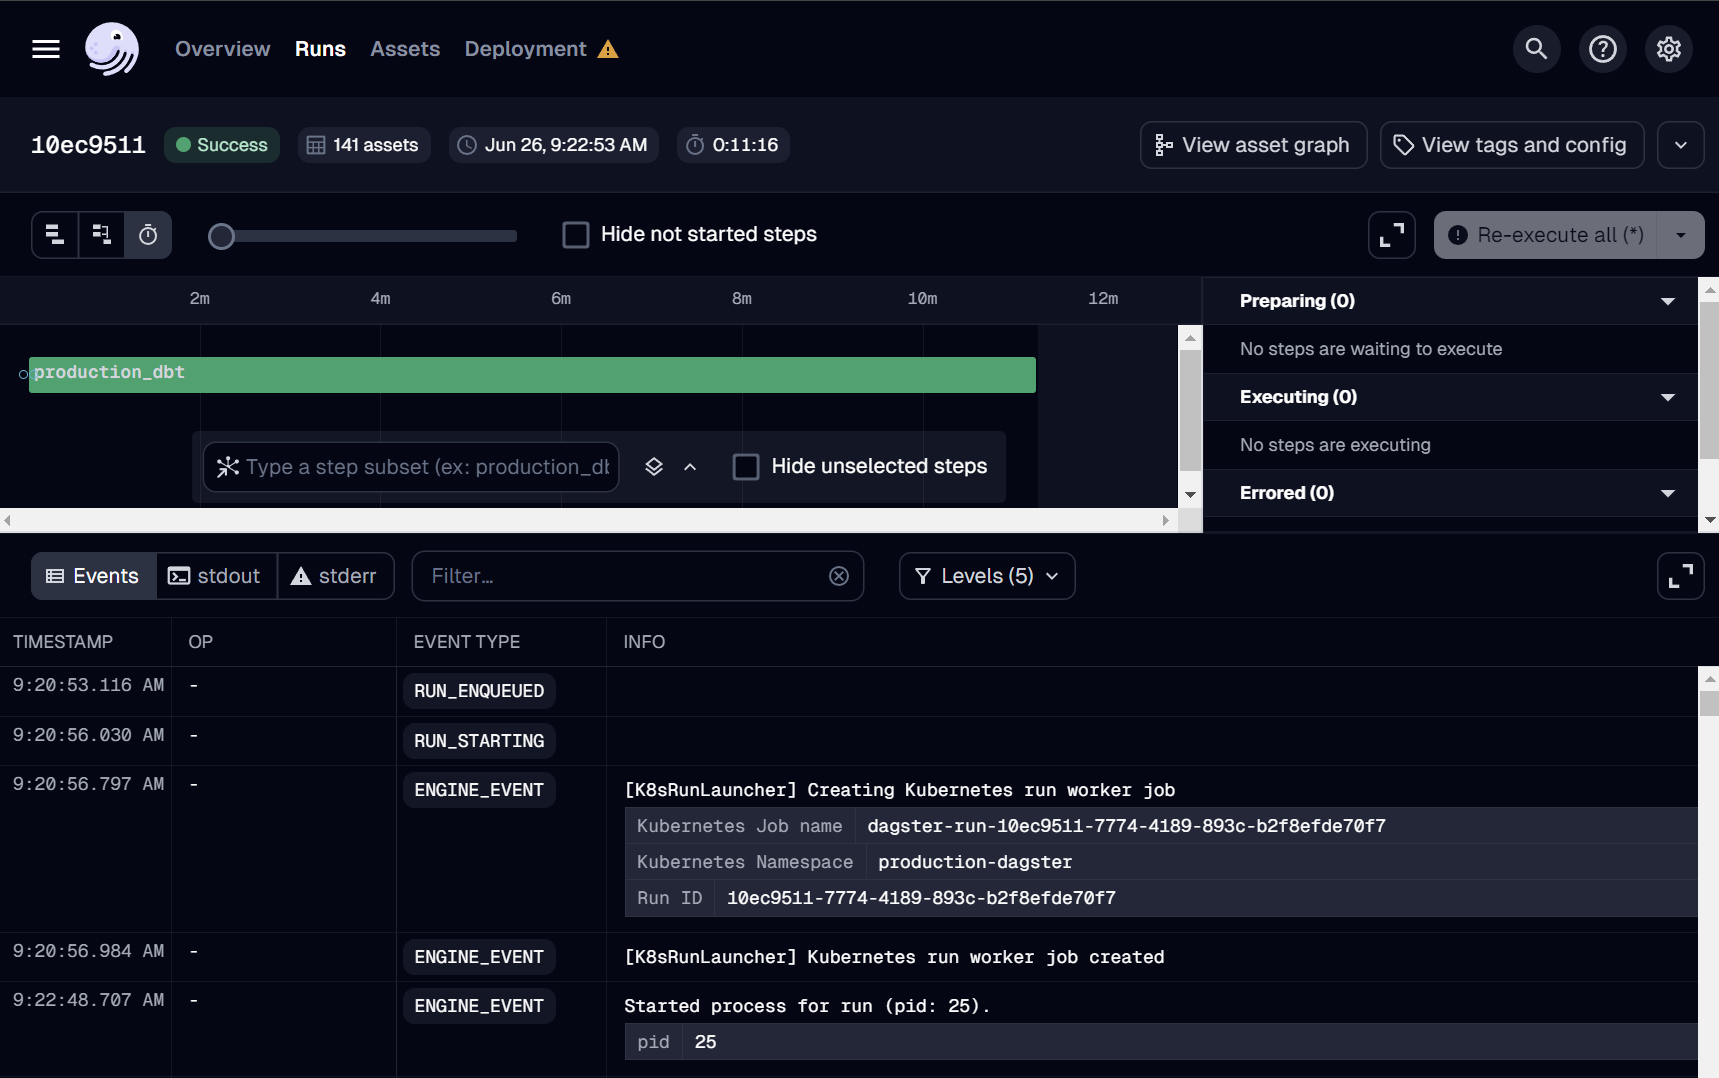
Run it!
If this is your first time adding an asset, we suggest reaching out to the OSO team over Discord to run deploys manually. You can monitor all Dagster runs here.
Dagster also provides automation to run jobs on a schedule (e.g. daily), after detecting a condition using a Python-defined sensor (e.g. when a file appears in GCS), and using auto-materialization policies.
We welcome any automation that can reduce the operational burden in our continuous deployment. However, before merging any job automation, please reach out to the OSO devops team on Discord with an estimate of costs, especially if it involves large BigQuery scans. We will reject or disable any jobs that lead to increased infrastructure instability or unexpected costs.
Defining a dbt source
In order to make the new dataset available to the data pipeline,
you need to add it as a dbt source.
In this example, we create a source in oso/warehouse/dbt/models/
(see source)
for the Ethereum mainnet
public dataset.
sources:
  - name: ethereum
    database: bigquery-public-data
    schema: crypto_ethereum
    tables:
      - name: transactions
        identifier: transactions
      - name: traces
        identifier: traces
We can then reference these tables in downstream models with
the source macro:
select
  block_timestamp,
  `hash` as transaction_hash,
  from_address,
  receipt_contract_address
from {{ source("ethereum", "transactions") }}
Next steps
- SQL Query Guide: run queries against the data you just loaded
- Connect OSO to 3rd Party tools: explore your data using tools like Hex.tech, Tableau, and Metabase
- Write a dbt model: contribute new impact and data models to our data pipeline