Dagster Next Steps
Add the asset to the OSO Dagster configuration
Submit a pull request
When you are ready to deploy, submit a pull request of your changes to OSO. OSO maintainers will work with you to get the code in shape for merging. For more details on contributing to OSO, check out CONTRIBUTING.md.
Verify deployment
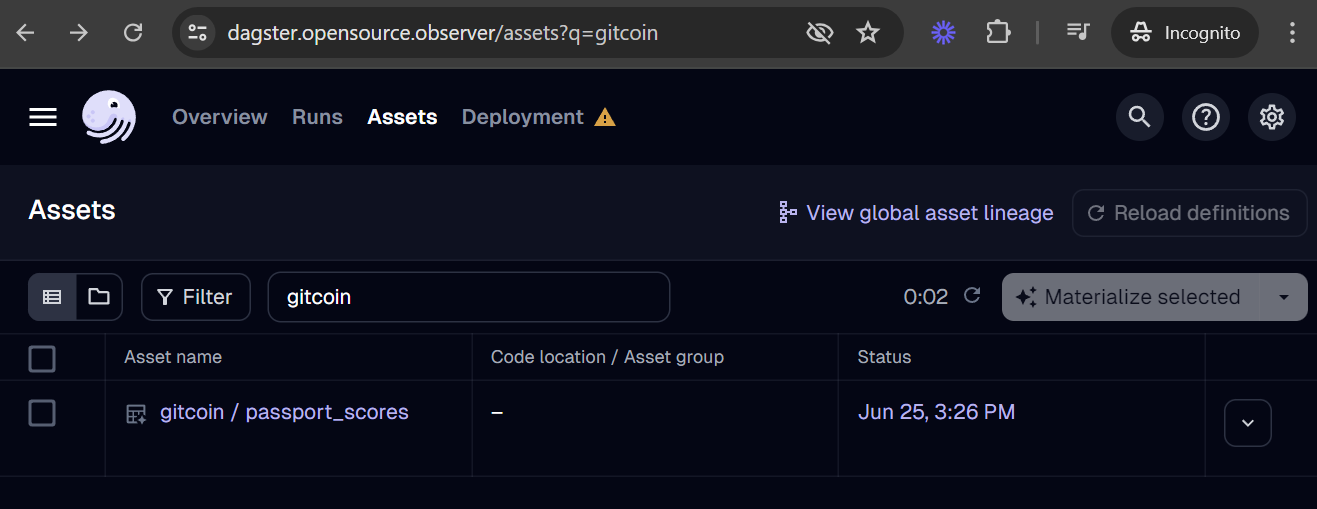
Our Dagster deployment should automatically recognize the asset after merging your pull request to the main branch. You should be able to find your new asset in the global asset list.
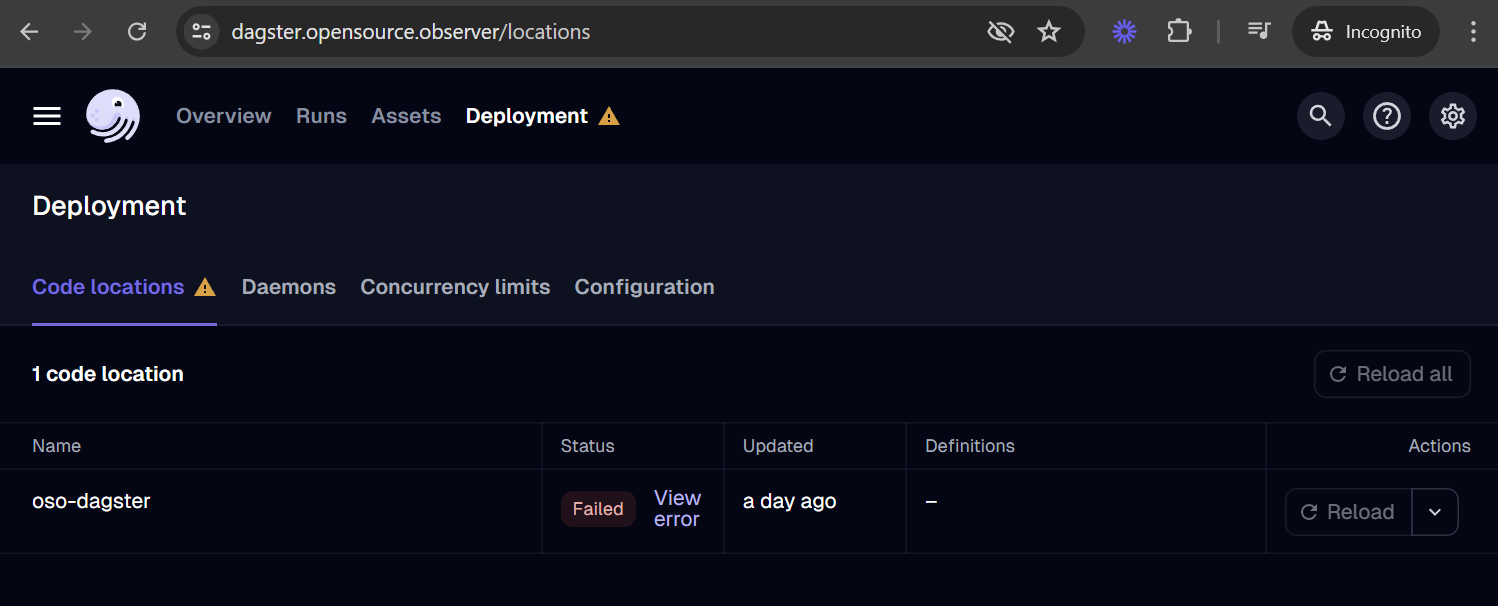
If your asset is missing, you can check for loading errors and the date of last code load in the Deployment tab. For example, if your code has a bug and leads to a loading error, it may look like this:
Run it!
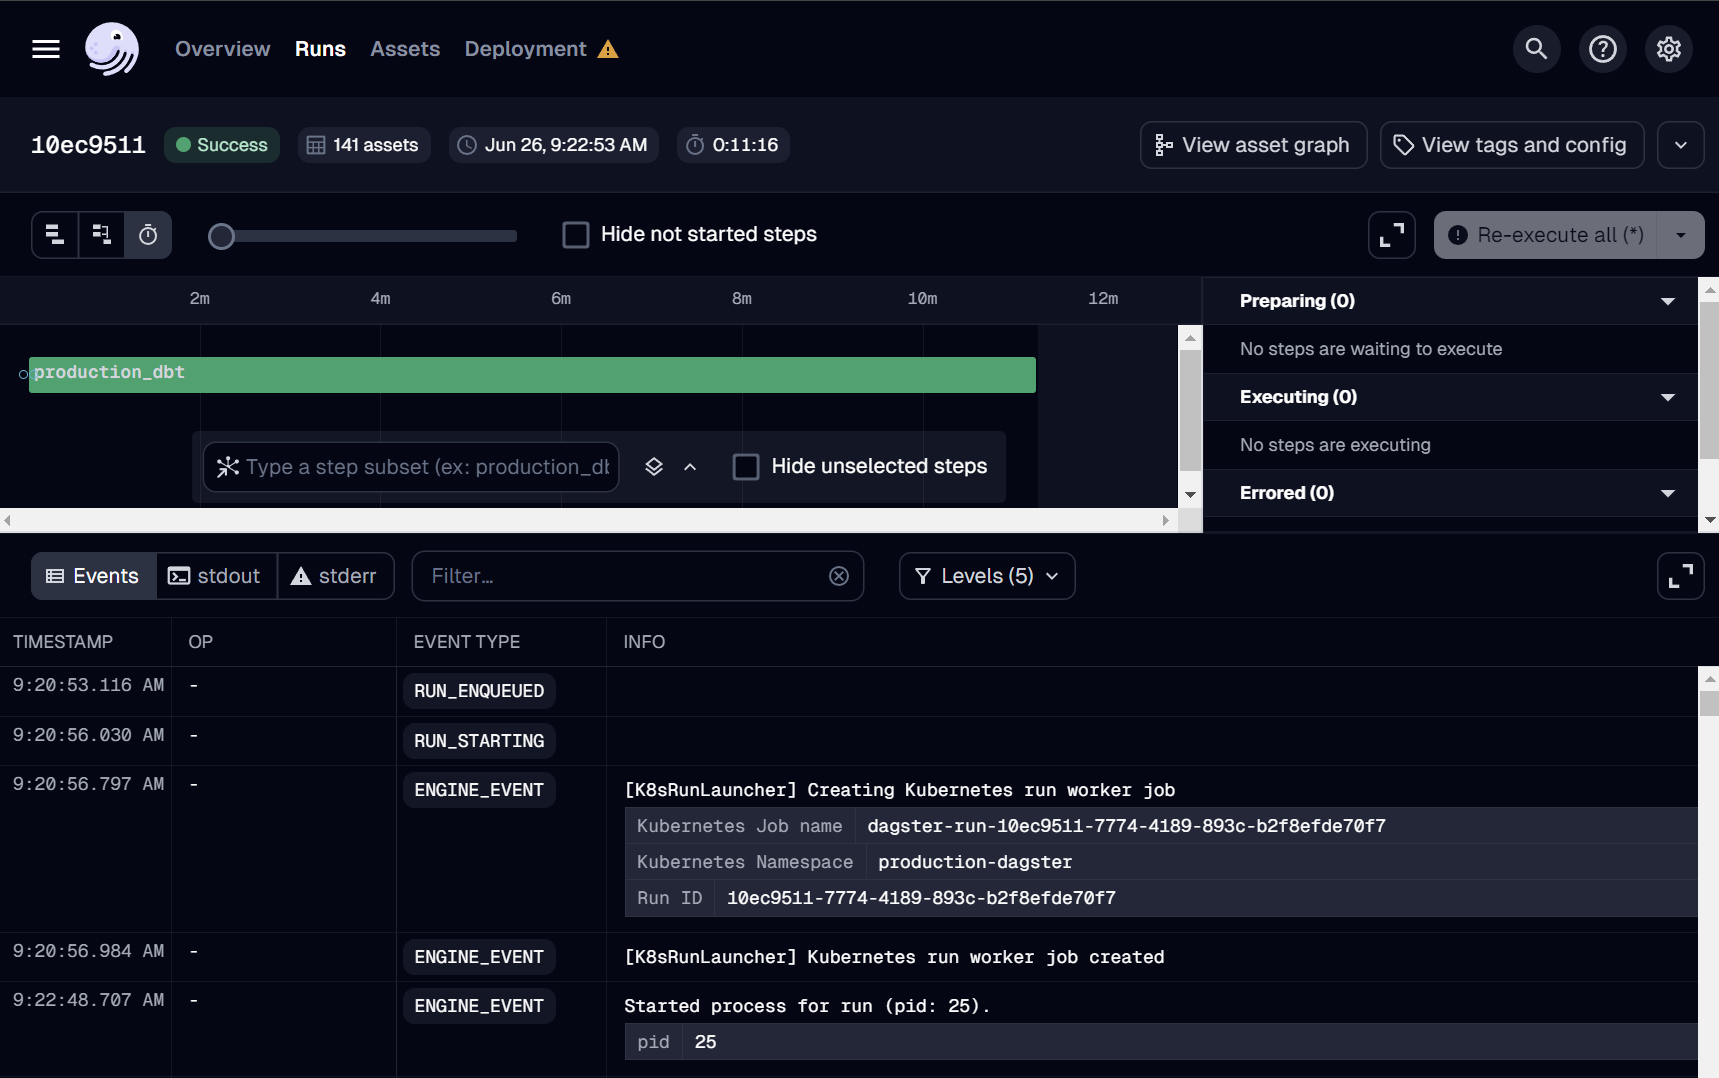
If this is your first time adding an asset, we suggest reaching out to the OSO team over Discord to run deploys manually. You can monitor all Dagster runs here.
Dagster also provides automation to run jobs on a schedule (e.g. daily), after detecting a condition using a Python-defined sensor (e.g. when a file appears in GCS), and using auto-materialization policies.
We welcome any automation that can reduce the operational burden in our continuous deployment. However, before merging any job automation, please reach out to the OSO devops team on Discord with an estimate of costs, especially if it involves large BigQuery scans. We will reject or disable any jobs that lead to increased infrastructure instability or unexpected costs.
Defining a dbt source
In order to make the new dataset available to the data pipeline,
you need to add it as a dbt source.
In this example, we create a source in oso/warehouse/dbt/models/
(see source)
for the Ethereum mainnet
public dataset.
sources:
  - name: ethereum
    database: bigquery-public-data
    schema: crypto_ethereum
    tables:
      - name: transactions
        identifier: transactions
      - name: traces
        identifier: traces
We can then reference these tables in downstream models with
the source macro:
select
  block_timestamp,
  `hash` as transaction_hash,
  from_address,
  receipt_contract_address
from {{ source("ethereum", "transactions") }}
Next steps
- SQL Query Guide: run queries against the data you just loaded
- Connect OSO to 3rd Party tools: explore your data using tools like Hex.tech, Tableau, and Metabase
- Write a dbt model: contribute new impact and data models to our data pipeline