Getting Started with Dagster
Dagster is a modern data orchestrator that we use to declare
all data assets in software. OSO uses it to schedule all data jobs,
from data collectors to our transformation pipeline.
This quickstart guide will help you set
up a development Dagster instance locally, with a duckdb backend,
in order to follow along with our tutorials in the next sections.
If you want to check out what Dagster looks like in production, check out https://dagster.opensource.observer Admins can trigger runs here
Setting up Dagster
First, we need to clone the OSO monorepo and install the required dependencies using uv:
git clone [email protected]:opensource-observer/oso.git
cd oso/
uv sync
Create a directory to store Dagster state. It is safe to delete this directory,
so we typically store this in /tmp.
mkdir /tmp/dagster-home
Copy .env.example to .env, and fill it in with the required environment variables:
DAGSTER_HOME=/tmp/dagster-home
Lastly, we need to configure dagster.yaml to disable concurrency. Our example
is located at /tmp/dagster-home/dagster.yaml:
run_queue:
  max_concurrent_runs: 1
This is currently a limitation with our duckdb integration. Please check out
this issue
for more information.
Running Dagster
Now that we have everything set up, we can run the Dagster instance. Call this command from the root of the repository:
uv run dagster dev
Alternatively, you can use the pnpm dev:dagster command, which automates the setup process by creating the necessary directory and configuration file for you.
You may need to run the development server in legacy mode on resource-constrained machines. See this issue for more details.
uv run dagster dev --use-legacy-code-server-behavior
After a little bit of time, you should see the following message:
2024-09-10 22:35:31 +0200 - dagster.daemon - INFO - Instance is configured with the following daemons: ['AssetDaemon', 'BackfillDaemon', 'QueuedRunCoordinatorDaemon', 'SchedulerDaemon', 'SensorDaemon']
2024-09-10 22:35:31 +0200 - dagster-webserver - INFO - Serving dagster-webserver on http://127.0.0.1:3000 in process 1095
Head over to http://localhost:3000 to access Dagster's UI. Et voilà! You have successfully set up Dagster locally.
Define a new Dagster asset
Now you're ready to create a new Dagster software-defined asset. You can use one of the following guides and come back to this guide to test it.
- 🗂️ BigQuery Public Datasets - Preferred and easiest route for sharing a dataset
- 🗄️ Database Replication - Provide access to your database for replication as an OSO dataset
- 📈 GraphQL API Crawler - Automatically crawl any GraphQL API
- 🌐 REST API Crawler - Automatically crawl any REST API
- 📁 Files into Google Cloud Storage (GCS) - Drop Parquet/CSV files in our GCS bucket for loading into OSO
- ⚙️ Custom Dagster Assets - Write a custom Dagster asset for unique data sources
- 📜 Static Files - Coordinate hand-off for high-quality data via static files. This path is predominantly used for grant funding data.
Test your asset locally
Assets in warehouse/oso_dagster/assets/default should automatically show up in
the Dagster assets list at http://localhost:3000/assets.
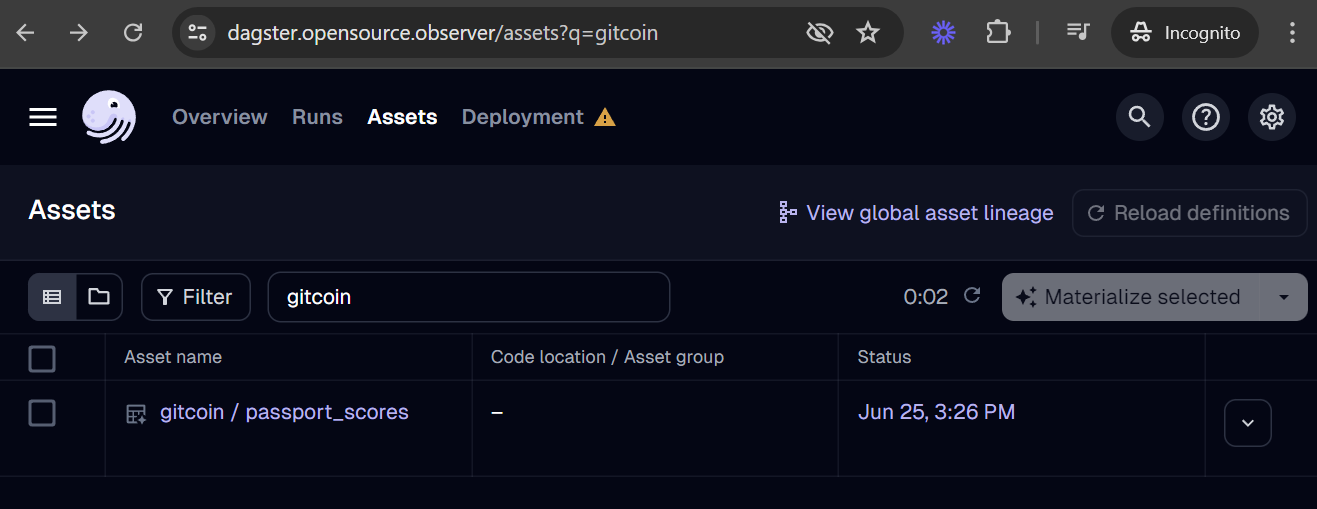
Click on "Materialize" to start the job. Here you'll be able to monitor the logs to debug any issues with the data fetching.
Unless your Dagster instance is configured with a Google account that has write access to OSO BigQuery datasets, some dagster assets will fail to materialize. Focus on debugging any issues with fetching data. When you're ready, work with a core team member to test the asset in production.
Add your asset to production
Submit a pull request
When you are ready to deploy, submit a pull request of your changes to OSO. OSO maintainers will work with you to get the code in shape for merging. For more details on contributing to OSO, check out CONTRIBUTING.md.
Verify deployment
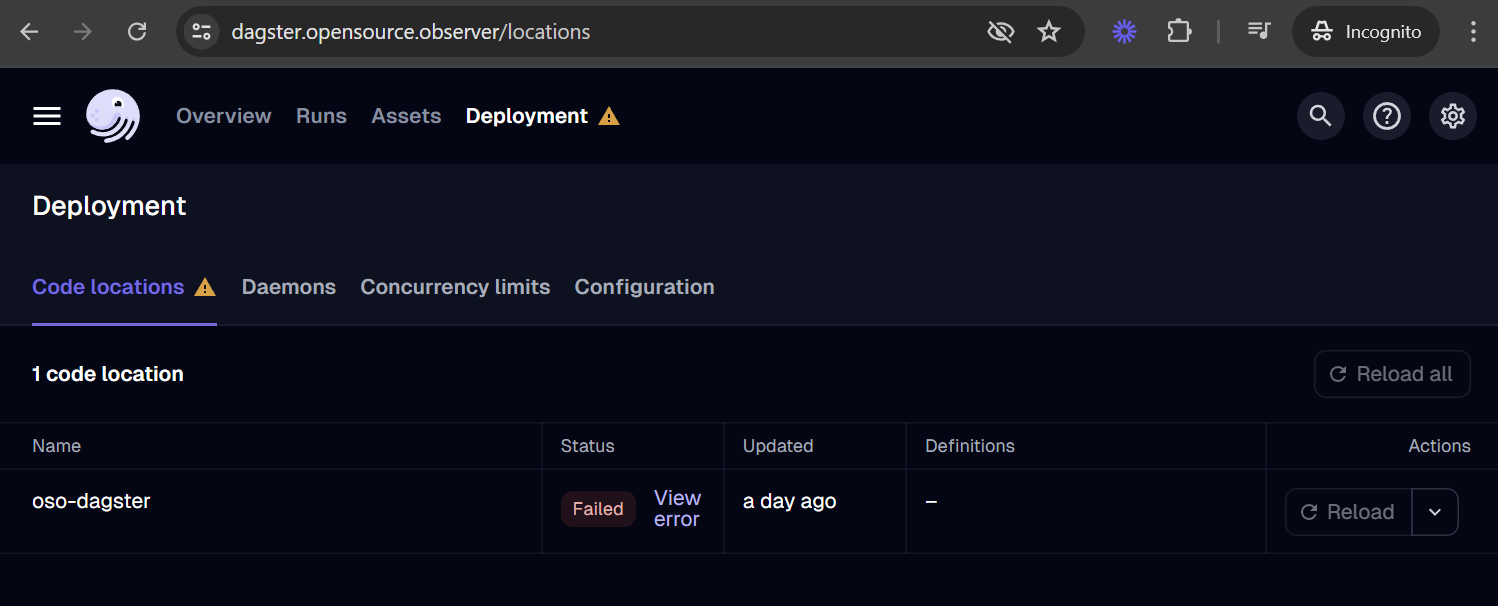
Our Dagster deployment should automatically recognize the asset after merging your pull request to the main branch. You should be able to find your new asset in the global asset list.
If your asset is missing, you can check for loading errors and the date of last code load in the Deployment tab. For example, if your code has a bug and leads to a loading error, it may look like this:
Run it!
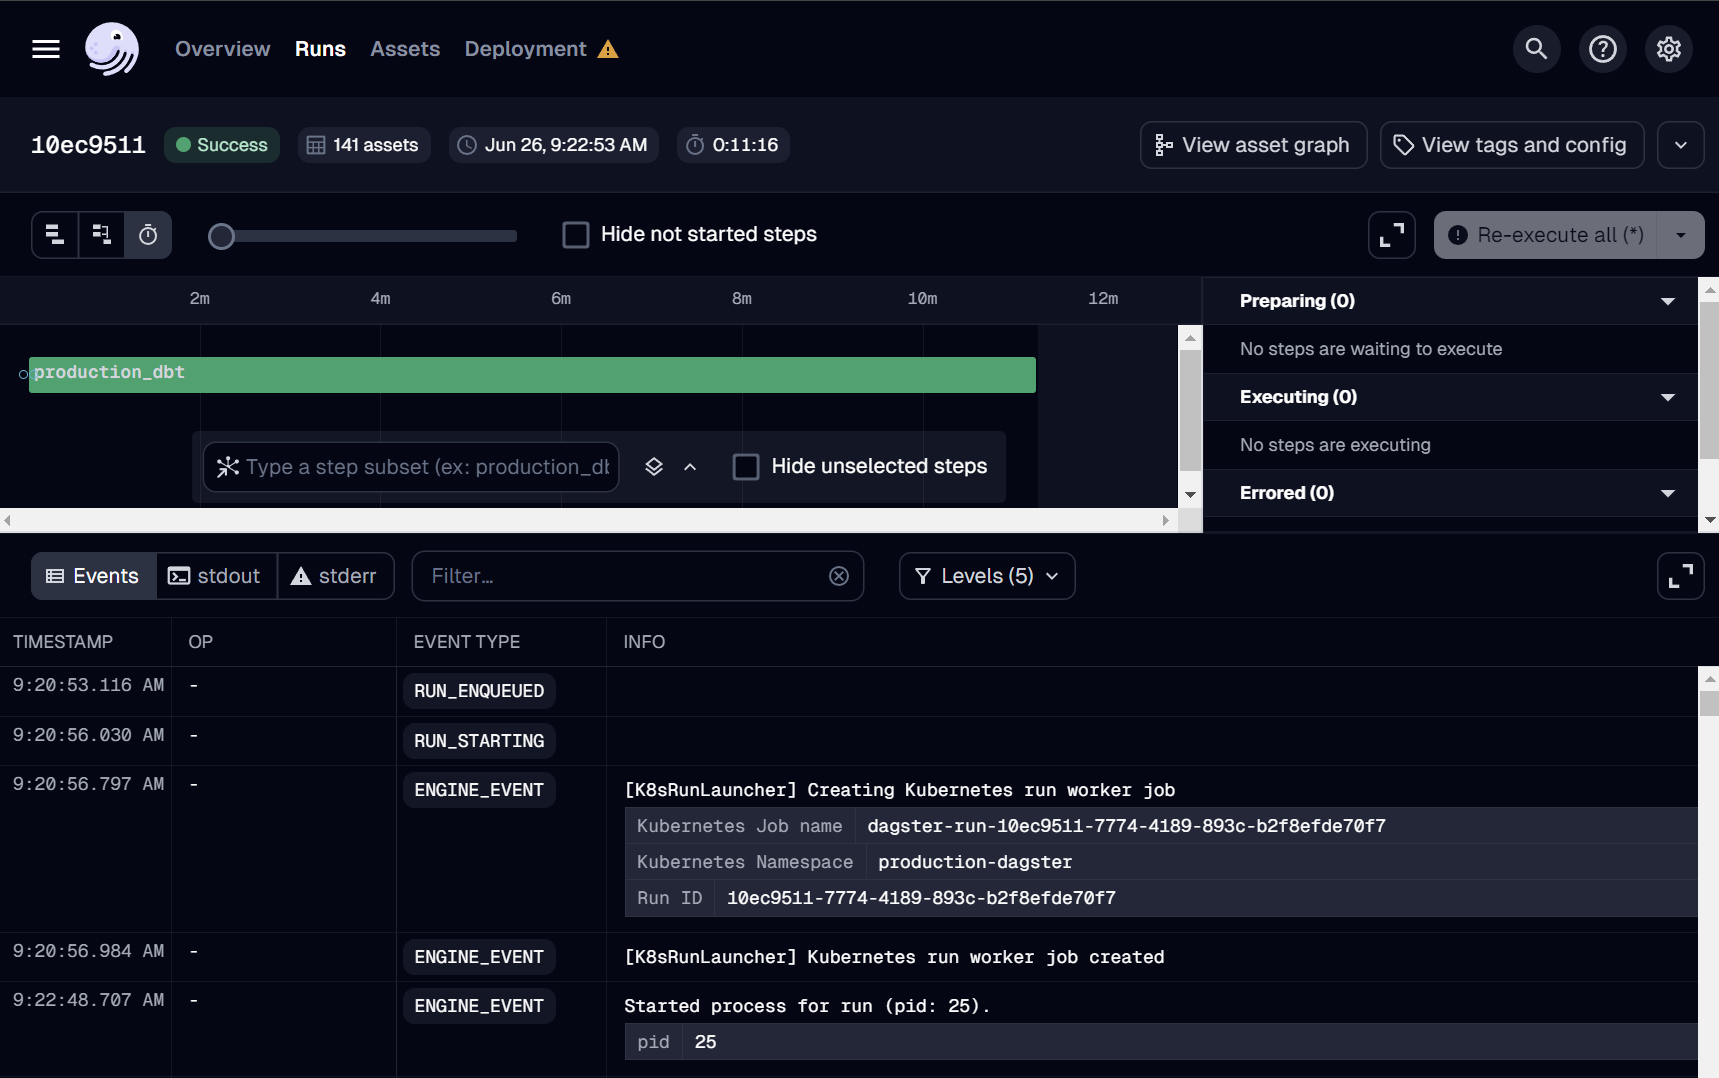
If this is your first time adding an asset, we suggest reaching out to the OSO team over Discord to run deploys manually. You can monitor all Dagster runs here.
Dagster also provides automation to run jobs on a schedule (e.g. daily), after detecting a condition using a Python-defined sensor (e.g. when a file appears in GCS), and using auto-materialization policies.
We welcome any automation that can reduce the operational burden in our continuous deployment. However, before merging any job automation, please reach out to the OSO devops team on Discord with an estimate of costs, especially if it involves large BigQuery scans. We will reject or disable any jobs that lead to increased infrastructure instability or unexpected costs.
Advanced Topics
Asset Code Locations
In order to improve the usability of our dagster setup locally, we've actually
split the organization of dagster assets into multiple "code locations." A code
location is a dagster abstraction that allows you to have different asset
definitions in entire different code paths. Code locations for an asset are
determined by the parent folder of the asset within
warehouse/oso_dagster/assets that corresponds to a definitions file in
warehouse/oso_dagster/definitions/. For most new assets, they should be
added to warehouse/oso_dagster/assets/default/.
At this time production is still using a single code location. This is due to an issue with how dagster handles scheduling and jobs. See this issue
Available Code Locations
At this moment, the available code locations can be found in the repository at
warehouse/oso_dagster/definitions/):
sqlmesh: This is the code location for any assets related to sqlmesh. This is essentially anything that depends on thedagster-sqlmeshpackage.default: The default code location for all remaining assets that do not fit into the other categories.
Running different code locations
To run these different code locations is nearly identical to how we run the
default code location. You just need to specify the code location's python
module path when running your Dagster jobs. To run the sqlmesh or ops code
location for example:
uv run dagster dev -m oso_dagster.definitions.sqlmesh
Notice that after -m the code location's module path is specified. It is
useful to note for newcomers that the warehouse/ path in the repository is not
considered a python module as it does not contain a __init__.py file and does
not appear as a python module in the root pyproject.toml
Running dagster with sqlmesh locally
This is mostly for the OSO team as most people should not need to run sqlmesh on the dagster UI in a local fashion. It should be enough for anyone looking to add models to run sqlmesh on it's own. The only reason to run sqlmesh locally is to ensure that the dagster-sqlmesh integration is working as expected with our particular pipeline.
Some environment variables need to be set in your .env:
# While not strictly necessary, you likely want the sqlmesh dagster asset
# caching enabled so restarting doesn't take so long.
DAGSTER_ASSET_CACHE_ENABLED=1
DAGSTER_ASSET_CACHE_DIR=/path/to/some/cache/dir # change this
# You can set this number to anything reasonable for your testing use case
DAGSTER_ASSET_CACHE_DEFAULT_TTL_SECONDS=3600
# `local` uses duckdb
# `local-trino` uses a locally deployed trino
# Suggestion is to use `local` as it's faster. This doc assumes duckdb.
DAGSTER_SQLMESH_GATEWAY=local
SQLMESH_TESTING_ENABLED=1
OSO_ENABLE_JSON_LOGS=0
Then you should run the sqlmesh local test setup to get your local sqlmesh duckdb initialized with oso local seed data.
uv run oso local sqlmesh-test --duckdb
Now it should be possible run sqlmesh and dagster locally. When materializing sqlmesh assets, it might complain about some out of date dependencies. Since we ran the local test setup, the data it's depending on should have been added by the oso local seed setup.